
База на знаења
How to install Net4Monitor on Windows Server Испечати
Welcome to our tutorial for installing Net4Monitor on a Windows Server.
In this guide, we will show you the step-by-step process to install the application and set up basic configurations to monitor services on Windows.
What can Net4Monitor monitor?
-
If a monitored service stops due to an error, it will automatically restart without human intervention.
-
When you connect via RDP to the server, you will receive an automatic alert on your WhatsApp and email, with connection details, such as the IP.
-
When a service is restarted, you will also be notified through the same channels.
-
If the server is restarted, you will receive an alert that the Net4Monitor service has been restarted.
Please note that the screenshots in this tutorial are in English, but if your Windows Server is in Spanish, the options will be displayed in Spanish.
Step 1:
Download the Net4Monitor application to your server using the link you received in the Welcome email.
If you did not receive it, please check your spam folder or contact us via WhatsApp or email for assistance with this step.
Step 2:
Once the application is on your Windows Server, double-click on it:
[Insert image here]
This will display a window like this:
This will display a window like this:
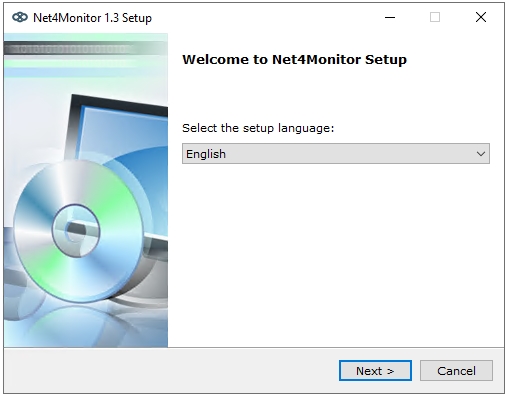
The installation will automatically detect the language of your Windows, but you can also change it if you prefer and click "Continue."
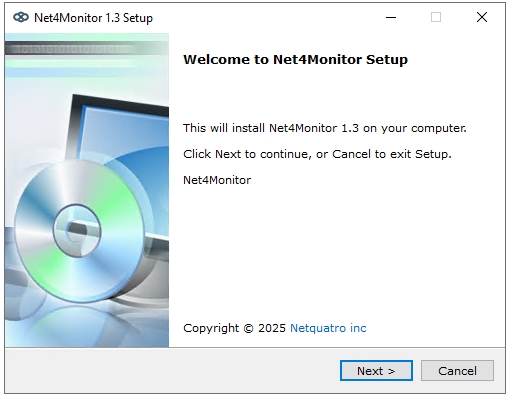
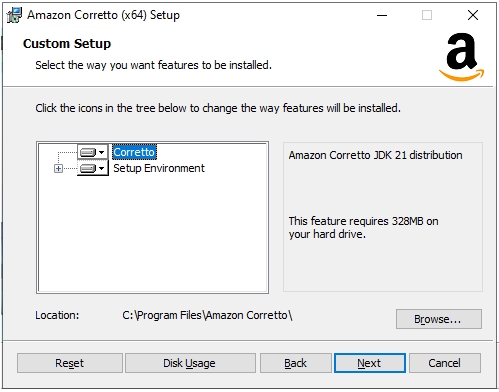
This window shows the version, and you can proceed:
Then, it will download version 21 of Amazon Corretto Java, as the application cannot function without this component:

It will show:
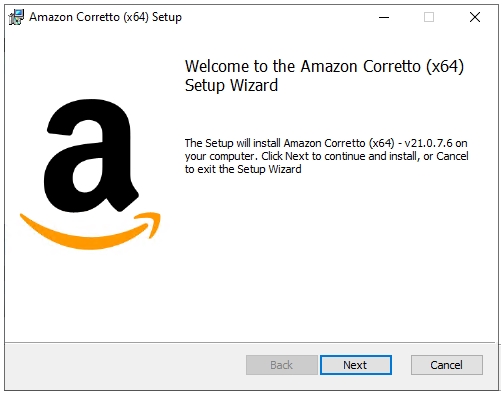
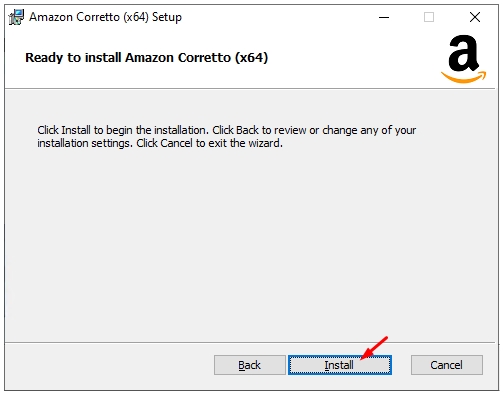
Please click "Next" until the Amazon Corretto installation is complete.
Then click Install:
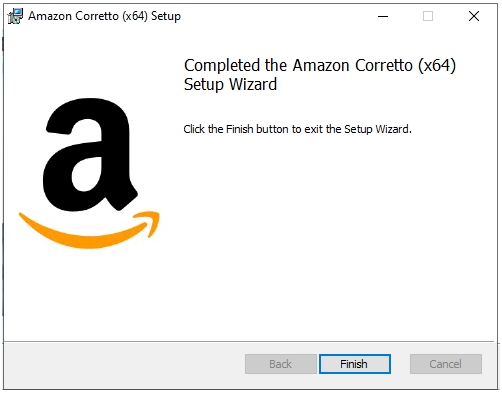
Once the process is complete, click "Finish":
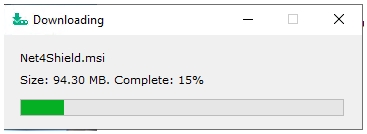
Next, our components "Net4Shield" and "Net4Monitor Agent" will be downloaded, which are necessary to monitor services and ensure the application works correctly:
Once this screen appears, click "Next" (you don't need to fill in any information here, just proceed):
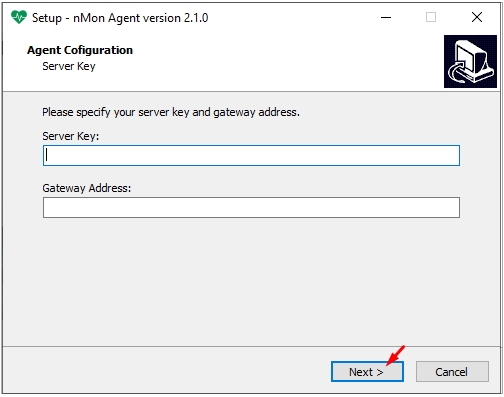
Continue
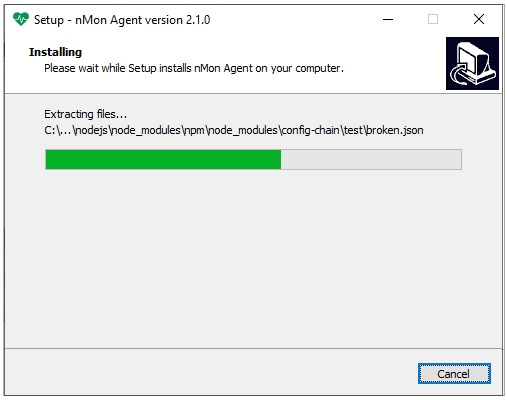
It will start copying some necessary components:
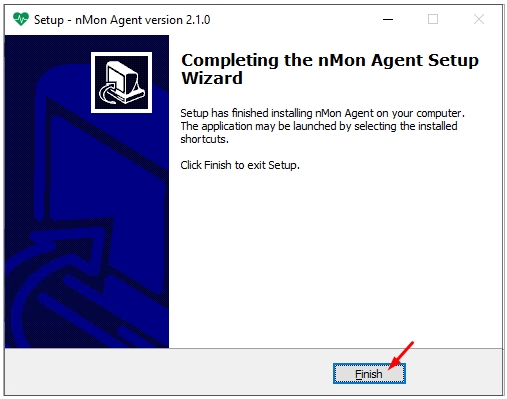
Click "Finish":
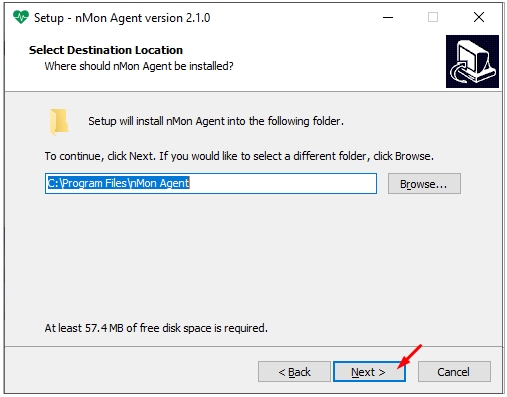
Next, continue with the installation and click "Next":

You can choose whether to have icons on your desktop and Start Menu:
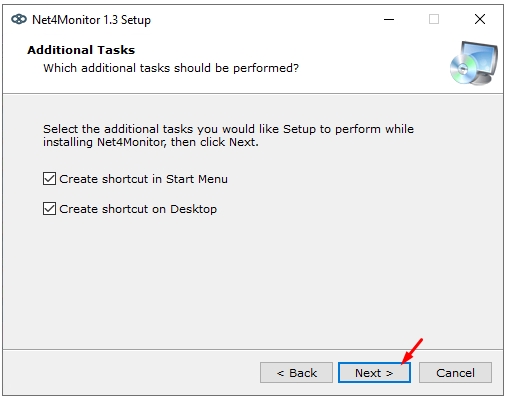
Then click "Install":

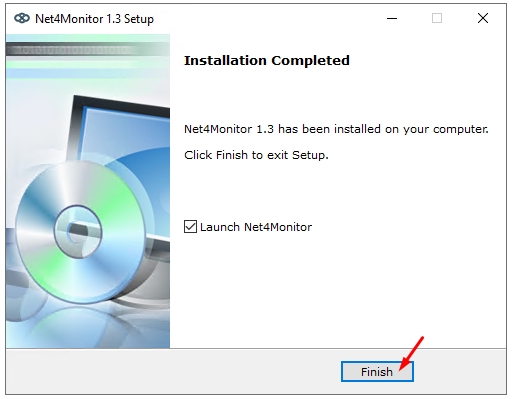
If you want the Net4Monitor application to open once the installation is complete, leave the option selected and click "Finish":
Once the installer closes, after a few seconds, the Net4Monitor configuration window will open:
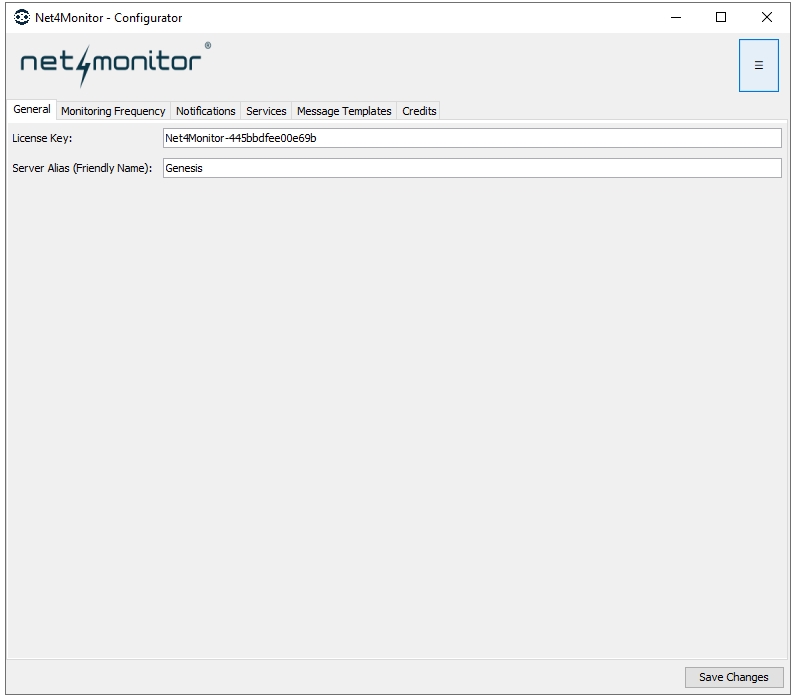
The first thing you need to do is enter the license provided in your Welcome email. Then, type a friendly name to identify the server when alerts are sent.
Next, go to the "Monitoring Frequency" tab, where you can set the time in seconds for checking your services:

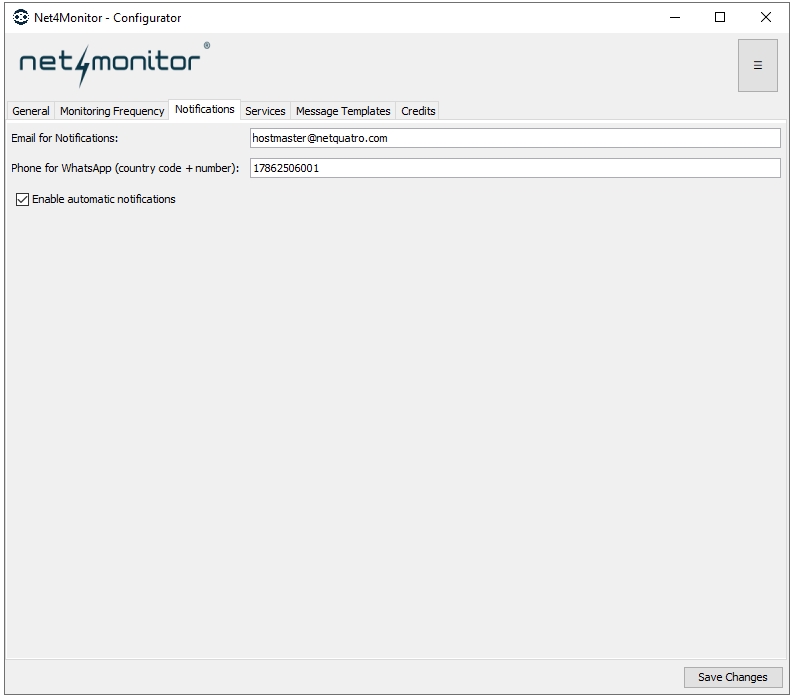
In the "Notifications" tab, you can modify the email and WhatsApp number where you want to receive alerts. It is very important that you add the country code without adding "00" or "+" in front of the number. Just the country code and number, without hyphens or periods. Enter it like this:
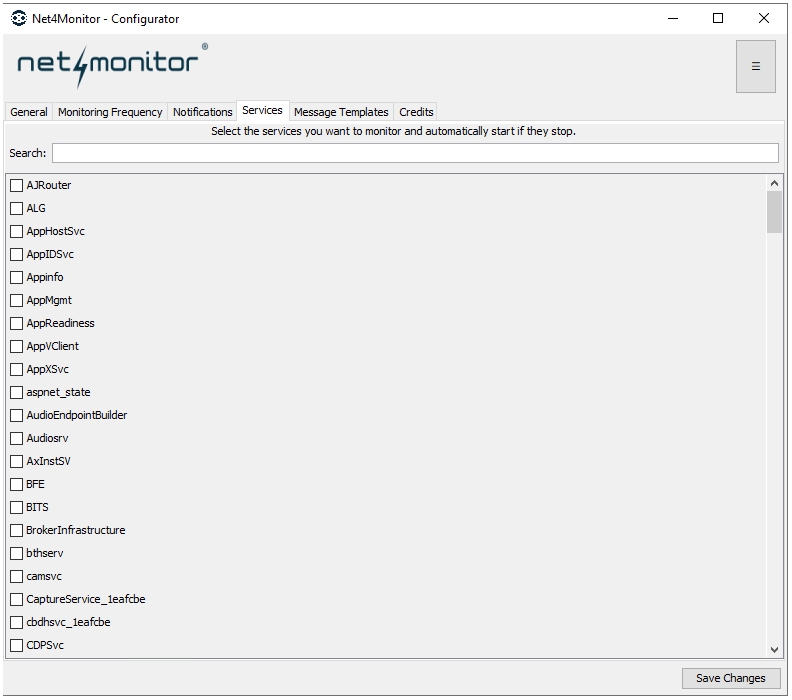
Then, in the "Services" section, you can filter using the search bar for your convenience by typing the name of the service.
By default, the "nmon Agent" and "ITSMService" services will be checked or selected, as they are required to be running for Net4Monitor to work properly. Therefore, you cannot uncheck them.
The "MailService" (SmarterMail) service will be automatically selected, but you can deselect it if you wish, and you can also monitor other services:
In the "Message Templates" section, you can configure email and WhatsApp templates for your convenience:

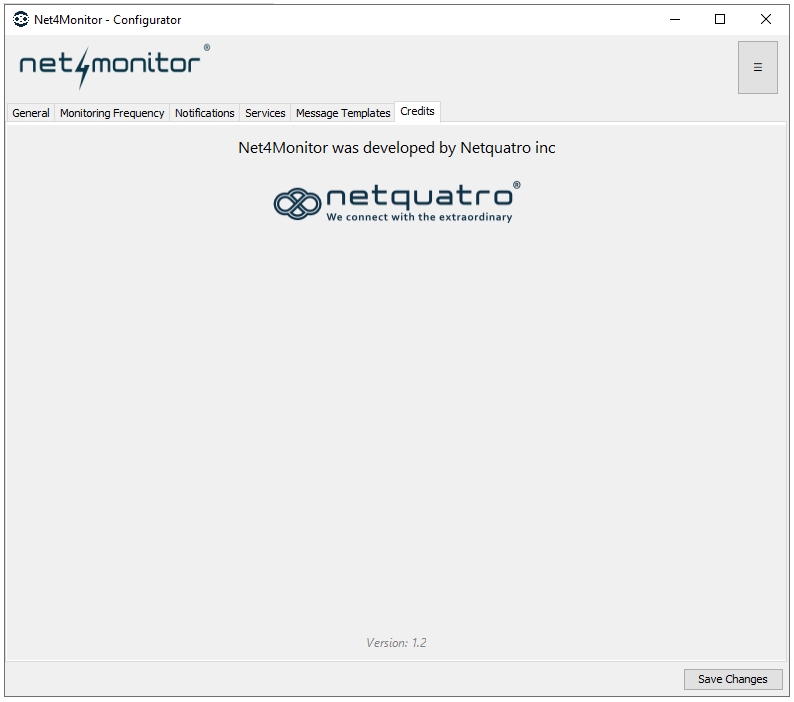
In the "Credits" section, you can view the credits for the development of the Net4Monitor tool:
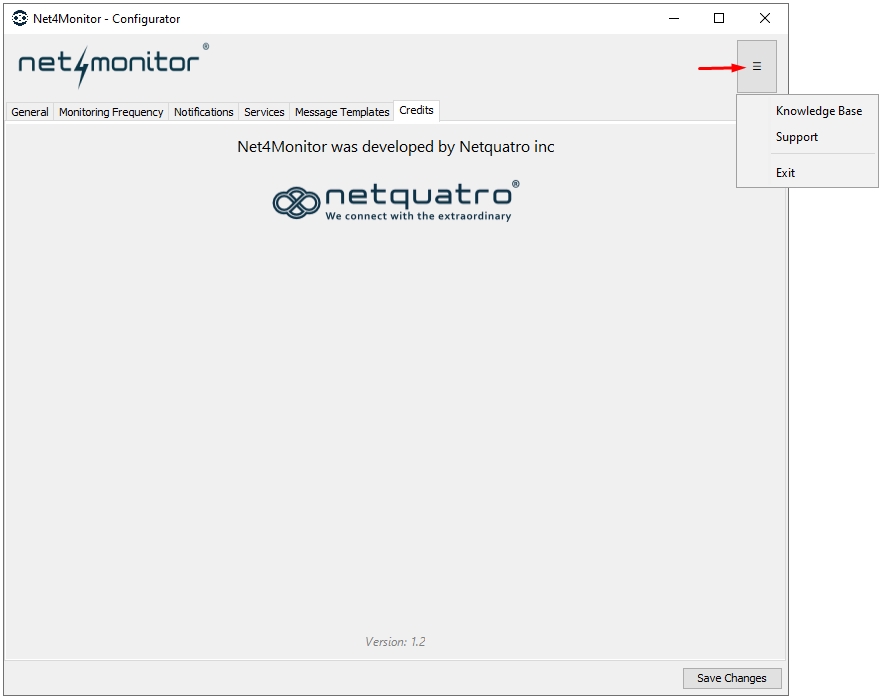
If you need a direct link to the knowledge base or support, simply click the hamburger menu in the top right, and you will find the support links:
At the end, it is very important to save your changes by clicking "Save Changes":
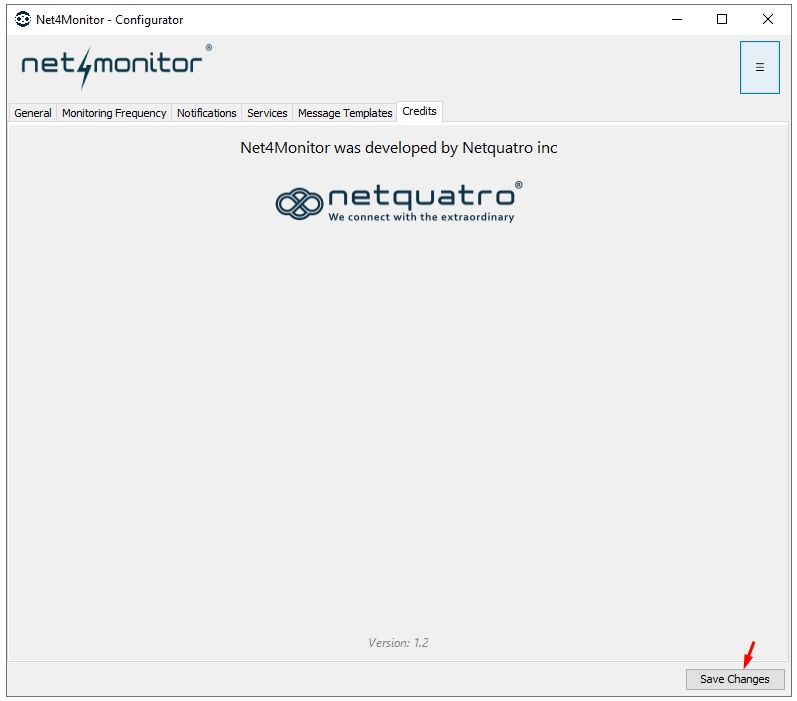
If successful, this message will be shown:
Additionally, you will almost instantly receive a WhatsApp message and an email indicating that the service has started.
If a different message appears, please contact us for assistance throughout the process.
Thank you for your preference.
Дали Ви помогна овој одговор?
Понудени резултати
Net4Monitor es un servicio que permite monitorear si un sitio web está funcionando bien,...
Bienvenido a nuestro tutorial para instalar Net4Monitor en un Servidor con Windows Server....
Powered by WHMCompleteSolution
